
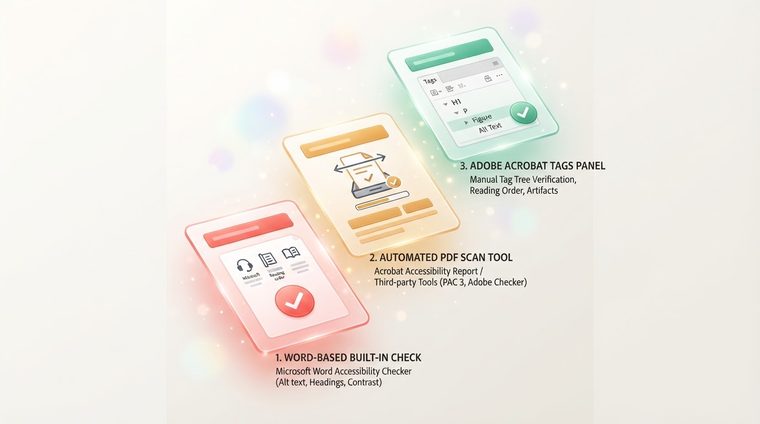
A PDF that a screen reader can't read, a form that can't be filled out without a mouse, or a financial report where the tables collapse into gibberish — these are all common accessibility problems, and the good news is that you can spot most of them yourself, without expensive tools or deep technical knowledge. In this guide, we'll cover three practical methods for checking document accessibility: a quick check inside Word, automated mapping of your whole site with the A2Z Accessibility tool, and an in-depth check of structure tags in Adobe Acrobat.
In short — what this guide covers
1. Checking accessibility in Word
If your document is still being edited in Word, the fastest way to catch accessibility problems is the built-in Check Accessibility tool. It checks things like missing alt text for images, color contrast, incorrect heading structure, and problematic reading order — before the document is even exported as a PDF.
- Open the document in Word.
- Go to the Review tab in the top toolbar.
- At the end of the ribbon, in the Accessibility group, click the Check Accessibility button.
- A pane will open on the right and display a list of errors, warnings, and tips — sorted by severity.
- Click any item in the list to see a precise explanation and fix it directly within the document.
💡 Alternative route
You can reach the same check via File ← Info ← Check for Issues ← Check Accessibility as well. Both routes launch exactly the same tool.
It's important to remember: the check in Word tests the Word document itself. When the document is exported to PDF, some tags can get damaged or generated incorrectly during the conversion. That's why it's always worth running an additional check on the final PDF file — whether with Adobe Acrobat (method 3, below) or with an automated scan of every document on your site (method 2, coming up next).
2. Automated mapping and checking of every document on your site, with the A2Z Accessibility tool
Manually checking a single document in Word is a good start, but what do you do when your site has dozens or hundreds of PDF files — policies, reports, forms, presentations? That's where the A2Z Accessibility tool comes in: you enter a single site URL, and the system crawls the entire sitemap, locates every PDF file, and checks each one against structure tags, alt text, and reading order — all automatically, without manually downloading a single file.
- Enter your site's URL in the field on our homepage.
- The system crawls the sitemap and locates every public PDF file.
- Each document is automatically checked against structure tags, alt text, and reading order.
- At the end, you get a report with an accessibility score for each document, and a list sorted by priority.

Want to make your documents accessible for free, too?
Once the report shows which documents need attention, you can upload them directly to AccessiDoc and make them accessible for free — no cost and no commitment.
Make your documents accessible for free ←3. Checking accessibility tags in Adobe Acrobat
Screen readers don't "see" a document the way we do — they rely on structure tags baked into the PDF file: which text is a heading, what the correct reading order is, and what alt text describes each image. The Tags panel in Adobe Acrobat Pro displays all of this as a hierarchical tree, and it's the most precise way to check for yourself what a screen reader "sees" in the document.
⚠️ Note — the button doesn't appear by default
Unlike most panels in Acrobat, the Tags panel is hidden by default and doesn't appear in the side toolbar. You need to turn it on manually the first time — here's how:
After enabling the panel, click the Tags icon in the side toolbar to open the document's tag tree:
- Make sure every meaningful image has a Figure tag with suitable alt text — and for purely decorative images, mark them as "Background/Artifact" so the screen reader skips over them.
- Make sure headings are tagged as H1, H2, H3 according to their hierarchical structure, not as regular paragraphs (P) with bold styling alone.
- Check that the order of tags in the tree matches the document's logical reading order — especially in documents with columns or complex tables.
- For a more thorough check, you can also run Tools ← Accessibility ← Accessibility Check (Full Check) — an additional tool in Acrobat Pro that scans the entire document and produces an organized issues report.
Summary: when to use each method
The three methods complement each other rather than compete: checking in Word is most effective while you're still writing, to catch problems early and fix them before the document even becomes a PDF. The Tags panel in Acrobat is the most precise tool for a thorough, manual QA check on the final PDF file, right before publishing. And when you need to know what's happening across your entire site at once — dozens or hundreds of documents — the automated A2Z Accessibility tool is the fastest way to map everything and get a clear picture with a priority order.
Want to know where your site stands?
Free mapping and scanning of every PDF file on your site — in minutes, with no commitment.
Scan your site for free ←