
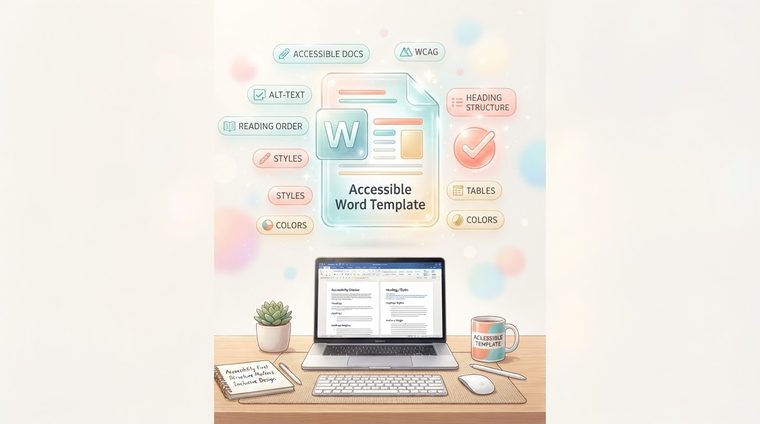
The most effective way to make documents accessible isn't to fix each document one at a time — it's to make sure new documents are born accessible from the start. The tool for that is a correctly configured Word template, from which every employee in the organization creates their documents. This article explains how to build one.
In short — what this article covers
Why one template is worth more than a thousand fixes
When an employee opens a new Word document and manually picks a font and heading size using bold and highlighting, they create a heading that looks like a heading — but structurally it's just bold text. A screen reader doesn't "know" it's a heading, and won't let the user navigate to it. The solution: a template in which every heading style is already predefined and correctly tagged — so the employee simply selects "Heading 2" from the menu, and the accessible structure is created automatically, without them having to think about accessibility at all.
Building accessible heading styles
- Open the Styles pane (on the Home ribbon, or Ctrl+Alt+Shift+S) and review the "Heading 1" through "Heading 4" styles.
- Ensure a consistent hierarchy: Heading 1 larger than Heading 2, which is larger than Heading 3, and so on — and make sure every level is actually used, not just defined in theory.
- Set proper contrast in advance: choose text and heading colors that meet at least 4.5:1 against the background, so every document created from the template automatically "inherits" proper contrast.
- Save the file as a Template (.dotx): so that every employee who opens a new document starts from the defined template, not a blank page.
Other elements worth building into the template
Beyond headings, it's worth building into the template itself: a predefined table style with an automatically tagged header row; a numbered list and bullet style (so no one "draws" a list with manual dashes); a default document language setting; and a cover page layout with a dedicated field for a short document description, from which a metadata description can easily be derived when exporting to PDF.
💡 Practical tip
Also add a short "before you send" note to the bottom of the template — a reminder to write alt text for images and check that there are no extra spaces or empty lines being used to create spacing. A small reminder inside the template itself gets seen far more often than a guideline in a separate file that people forget to open.
How to roll it out across the whole organization
A good template that no one uses isn't worth much. It's important to make it the actual default: replace the organization's Normal.dotm file, distribute the template through a shared network folder or internal portal, and give a short quarter-hour training session to the core content teams. This one-time investment saves hundreds of hours of fixes down the road, and ensures every new document meets the standard from the very first moment.
Already have old documents that were created before you had an accessible template?
Our tool scans all the existing PDF files on your site and shows exactly which ones need attention — so you know where to start.
Scan your site for free ←After the scan, you can also make the documents that were identified accessible directly and for free through AccessiDoc.